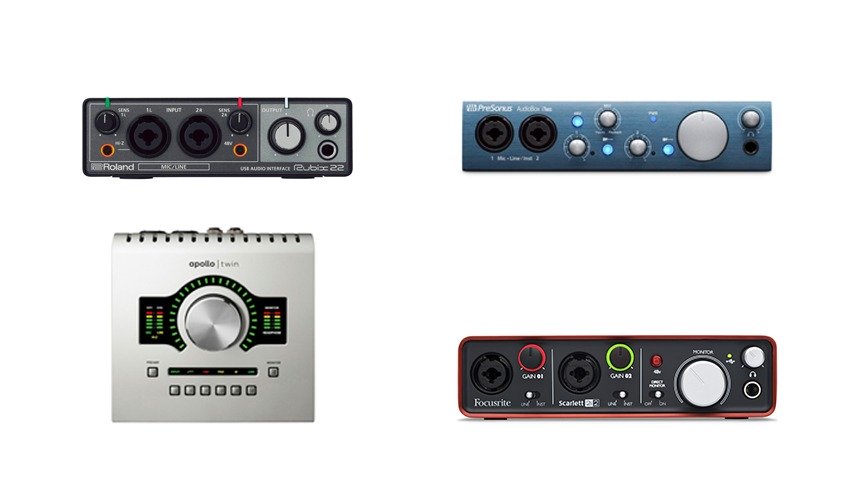
This article, by Rob Bee, is an excellent overview of how to choose the best audio interface as a voiceover. Rob is a highly experienced sound engineer who runs the GFTB Home Studio Mentoring area as well as his own company…visit his website Bee Productive to find out more.
The Best Audio Interface For Voiceover Work
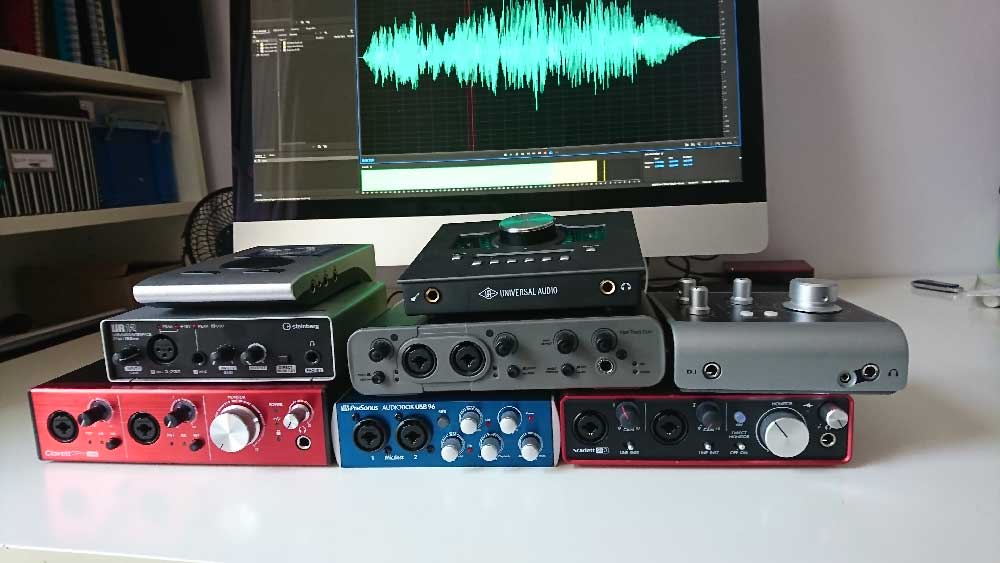
Whenever you’re in the market for a new piece of kit for your studio – whether you’re just setting up, upgrading or replacing something that’s broken – one of the best pieces of advice is to ask around other VOs and producers and see what other people are using. Unfortunately, there is an inherent danger in that.
Some people are so passionate about their studio that they convince themselves that the equipment they have bought is the right equipment, and anyone who has bought different from them is just plain wrong.
Sometimes you can take that with the piece of salt it richly deserves, and at other times – like if you’re unfamiliar with what you’re trying to buy – it gets harder to see past the enthusiasm, and you may end up with something that’s unsuitable, maybe even unusable, for your needs. I think audio interfaces are a particular case in point. We know we need them, but we may not entirely understand what they do. In this article, we’re going to look at a few currently popular interfaces and try to find a fit for your studio.
Choosing an Audio Interface
So how do you go about choosing yourself an audio interface? The first thing to consider is what you need it to do. You need to consider every recording scenario you undergo, and then future-proof yourself a bit. Also bundled into this consideration is how technophobic you are. You’re always going to get better results if you record with equipment you can understand, there’s no point getting something all singing all dancing if it’s going to outface you.
If you need simple, buy simple. So figure out how many inputs and outputs you need, and then look at your set-up – it should go without saying, but don’t buy a Thunderbolt interface if you don’t have a Thunderbolt port on your computer for example. There are options between USB, firewire, thunderbolt and even ethernet interfaces. Under the hood, there are differences in the way these receive and transmit data, but let’s take it as read for now that they all work well.
The final part is to find the make and model that you want. Many brands on the market are worth looking at and offer many different price points and levels of complexity. Let’s take a look, and a listen to a few.
We recorded all the audio samples with Drew Cain (http://drewcain.co.uk/), and the signal chain is very simply a Sennheiser MK4 going straight into the interface in question. When testing for the best audio interface for voiceover work we produced sound files so you can listen to the differences.
1. Focusrite Scarlett 2i2
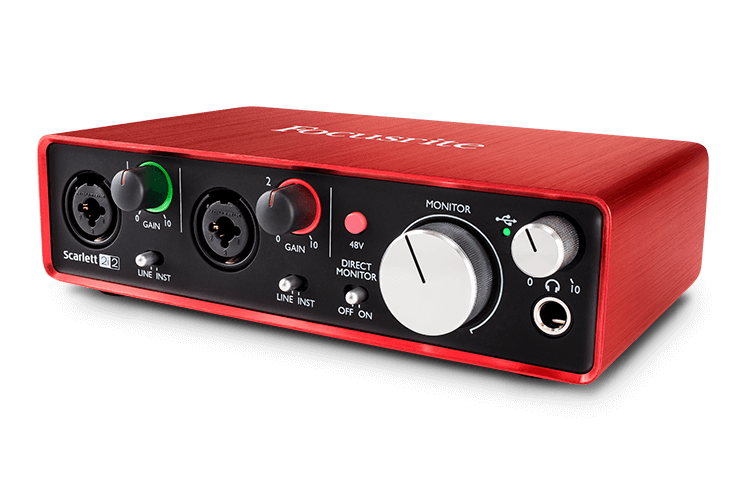
Price: Roughly £115 – $146 (USD) (Currently 15% discount in the GFTB Shop)
I think most people are familiar with the 2i2. It’s a go-to interface and the one that’s available on the GFTB store. It’s light, simple, and pretty reliable. It offers 2 ins and 2 out, some free plugins and Protools First (which is free anyway). There is a range of Scarlett models offering different numbers of the ins and outs. For the 6i6 and above, you need the bundled mixcontrol software, which is quite flexible in the way that you can route audio to the different outputs available on the unit.
Here’s the sample:
2. UA Apollo twin
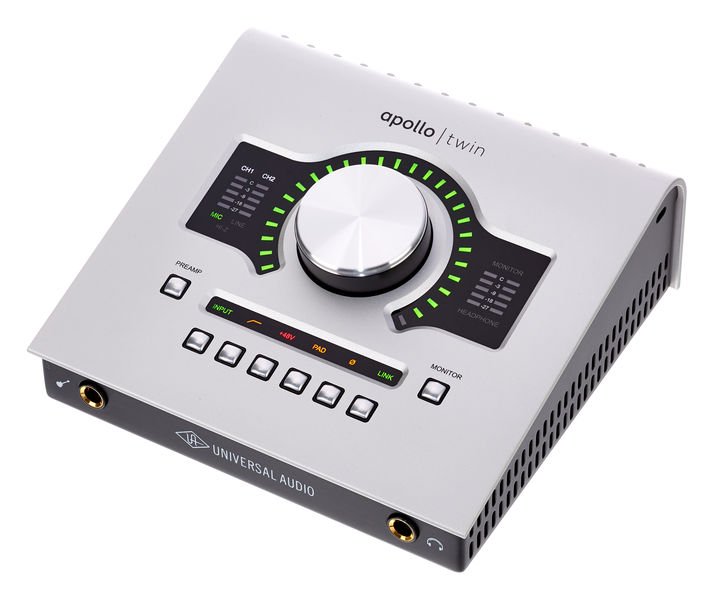
Price: Roughly £699 – $899 (USD)
A 2 in 4 out interface which is expandable via optical cables. The unit has digitally controlled preamps and a very comprehensive routing setup via the console software, which also incorporates many plugins and emulations of famous bits of analogue kit. This unit allows you to save and reload setups for different types of projects and will allow you to play audio from your DAW down the line to a remote client. The unit I played with was a thunderbolt version, but there is a USB version for windows users. This is currently the interface of choice for many pro-level VO’s such as Joe Cipriano, Peter Dickson, and Hugh Edwards – aside from the great sound quality, being able to store sessions is invaluable.
Here’s the sample:
3. Audient iD4
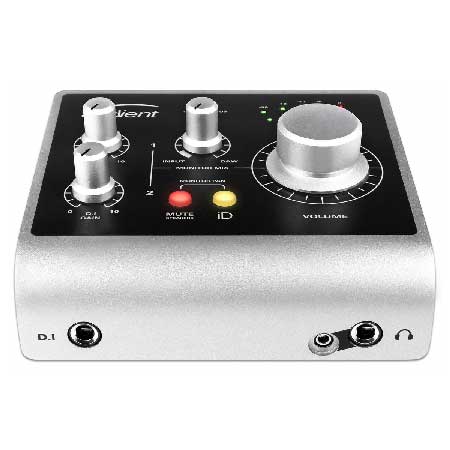
Price: Roughly £105 – $199 (USD)
The iD4 is the little brother of the iD14, iD22, and iD44. It’s a very simple 2 in and 2 out interface, although input 1 is an XLR socket and input 2 is a jack, rather than having 2 combi-sockets (which would offer more flexibility in your set-up).
At the time of writing it comes bundled with several pieces of software including Cubase LE. The other units in the iD range (iD14 and above) come with controller software to help you route audio as best serves your studio, and optical inputs and outputs so that you can expand your studio ins/outs capabilities.
Here’s the sample:
4. Avid Fast Track Duo
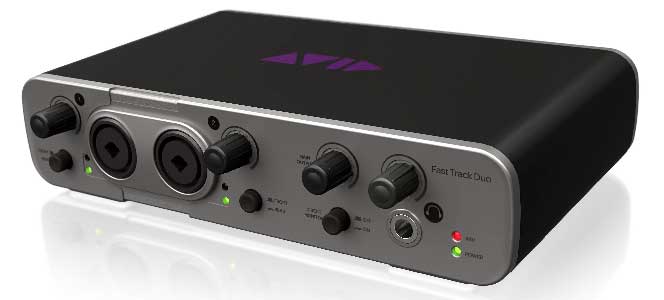
Price: Roughly £145 – $220 (USD), now discontinued
The Avid Fast Track Duo is a slightly older interface that came bundled with Pro Tools Express. It has 2 combi-sockets on the front. Also, it has 2 outputs on the back (plus a headphone socket!). It is a discontinued product. Although it was tied into Protools, you could use it generally as an interface with other DAWs and editors, and it performed very well as such. My big niggle with it is the dark grey writing on the light grey background doesn’t help my 40-odd-year-old eyes much.
Here’s the sample:
5. Focusrite Clarett 2 Pre
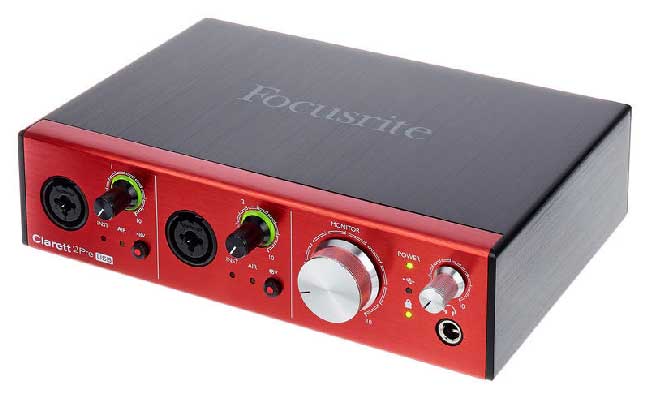
Price: Roughly £345 – $439 (USD)
The Clarett range is the big brother to the Scarletts. They started as thunderbolt/firewire interfaces, but as USB3 has increased the speed of data transmission, they now offer a USB version of the Clarett.
The 2Pre is a 2 in 2 out interface – combi-sockets again. Scarlett users will be almost familiar with the layout of the hardware unit, although the control software is different from the Scarlett mixcontrol, and even this 2Pre needs the software loading. There is also a 4pre and 8pre for those who need more ins and outs, and all are expandable via optical leads to offer even bigger configurations. There are some plugins thrown in with your purchase, including Ableton Live Lite, which I’ve never found very good for VO editing.
Here’s the sample:
6. Presonus Audiobox
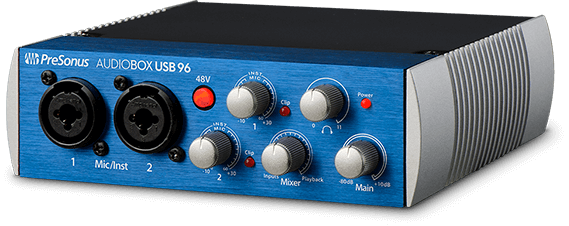
Price: Roughly £99 – $129 (USD)
You’d expect an interface from Presonus to come bundled with a copy of Studio One, and you’d be right. It comes with the middle version of the software, which has many plugins included. It’s a simple 2 in 2 out of the box utilising combi-sockets. Unlike some of the other units, we’re looking at this isn’t the smallest in a range, although there are different packages you can buy with different software included.
Here’s the sample:
7. RME babyface Pro
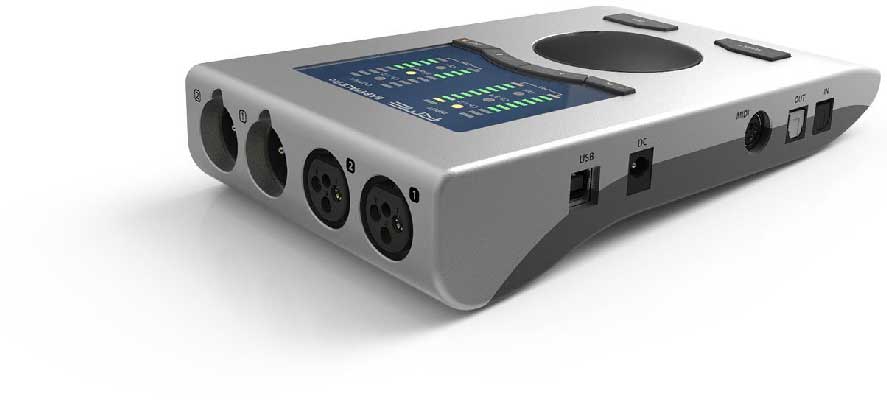
Price: Roughly £649 – $759 (USD)
A small, simple looking unit, but it’s simple looks are deceiving. This is a very powerful unit. Again, this is a smaller version of other bigger interfaces, and again this is expandable via optical leads. Each button on this unit performs multiple tasks, and the software mixer is necessary to enable you to turn the phantom power on. Being all digital, you can save and reload different configurations and settings for different types of projects. The mixer can be confusing, but most VO’s will be able to ignore it for day to day VO needs once it’s set up. The babyface has 4 inputs on it – 2 XLR and 2 jacks.
Here’s the sample:
8. Steinberg UR12
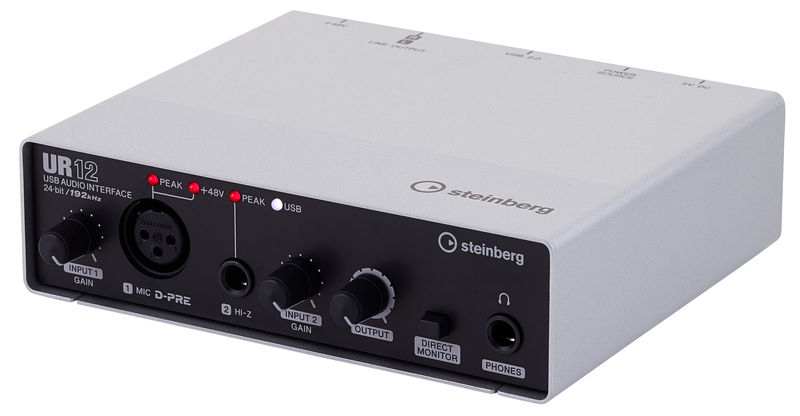
Price: Roughly £79 – $99 (USD)
Another straightforward interface. Input 1 is XLR and input 2 is jack. Comes bundled with Cubase AI and Cubase LE. Again, this is the little brother of some bigger interfaces – the UR22 and UR242 – which offer greater capability. This unit has a useful little feature that will allow you to play back audio from your DAW/editor down the line to a client at the remote end.
Here’s the sample:
Our Recommendation:
So there you go. There are, of course, many other interfaces on the market if you don’t like the look of those.
Also, don’t forget the Webinar that accompanies this blog where you can see me waving each of these interfaces around and hear some more info about them all.
But which do we recommend? Well, most interfaces really do sound pretty good so it’s largely to do with your budget.
The lower price range interfaces all have the same drawback in that their rotary encoders are not ‘notched’ meaning that it’s very hard to match your recordings a month later when it comes to recording pickups for the same sessions, and they often don’t have the same software support. The higher priced interfaces (especially the Apollo Twin) offer fantastic software support, notched encoders and more accurate pre-amps.
So you do get what you pay for – but would the end clients notice the difference? The jury’s out…..
Thank you for the article. I learned a couple of things to consider – namely to pay attention to input configuration and setting save capability.
I do think some of the explanations aren’t necessarily “beginner” targeted. I saw the webinar link and clicked to see if I could understand the points I got lost on there – but it’s a dead link.